The Result
The Process
Pre-production
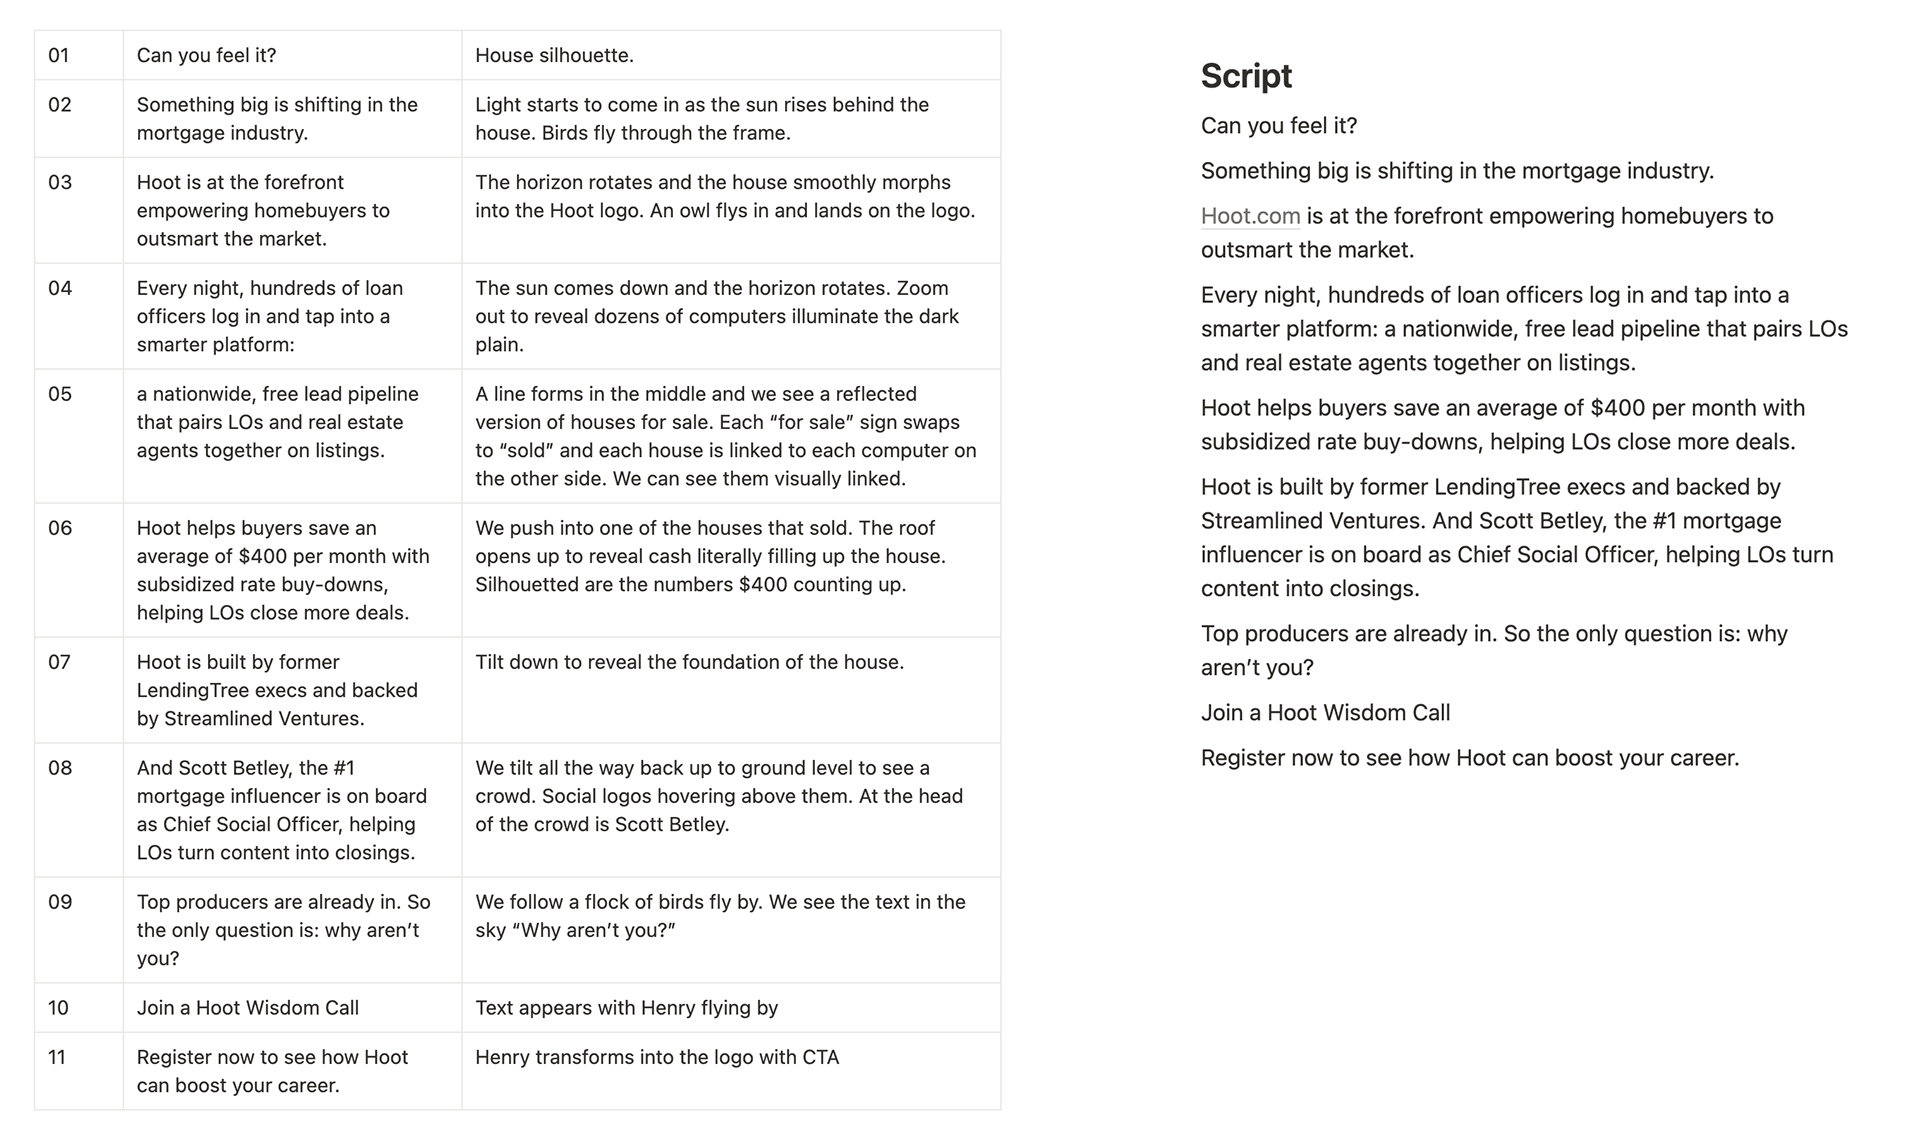
First stop on the process was onboarding the client, explaining my process and listening to what they want to accomplish and how they want their brand shown. The company is a start up so there was still a lot of interpretation left for their brand. The script was already provided along with some visual references and a general stab at what they want to see. From there, I made a visual script along with some moodboards and sent that off to be the first step in the dialogue with the client.
Sketching & animatics
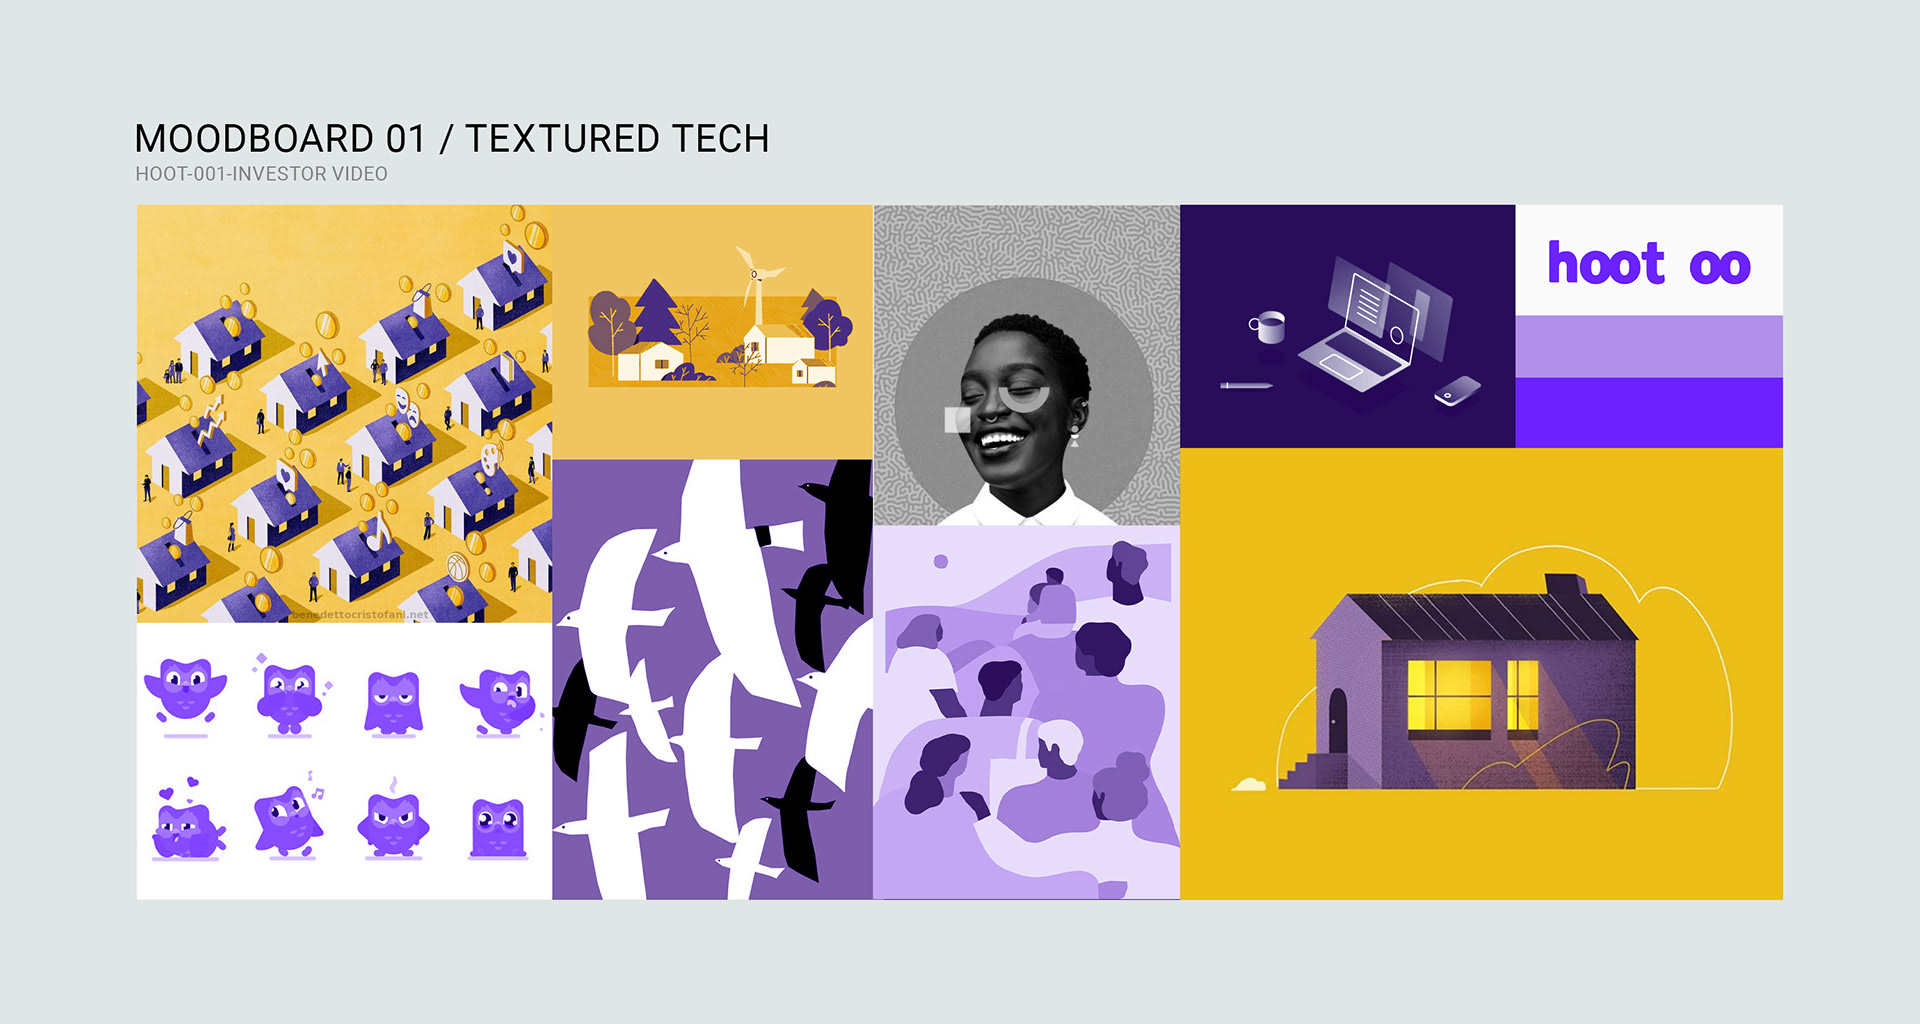
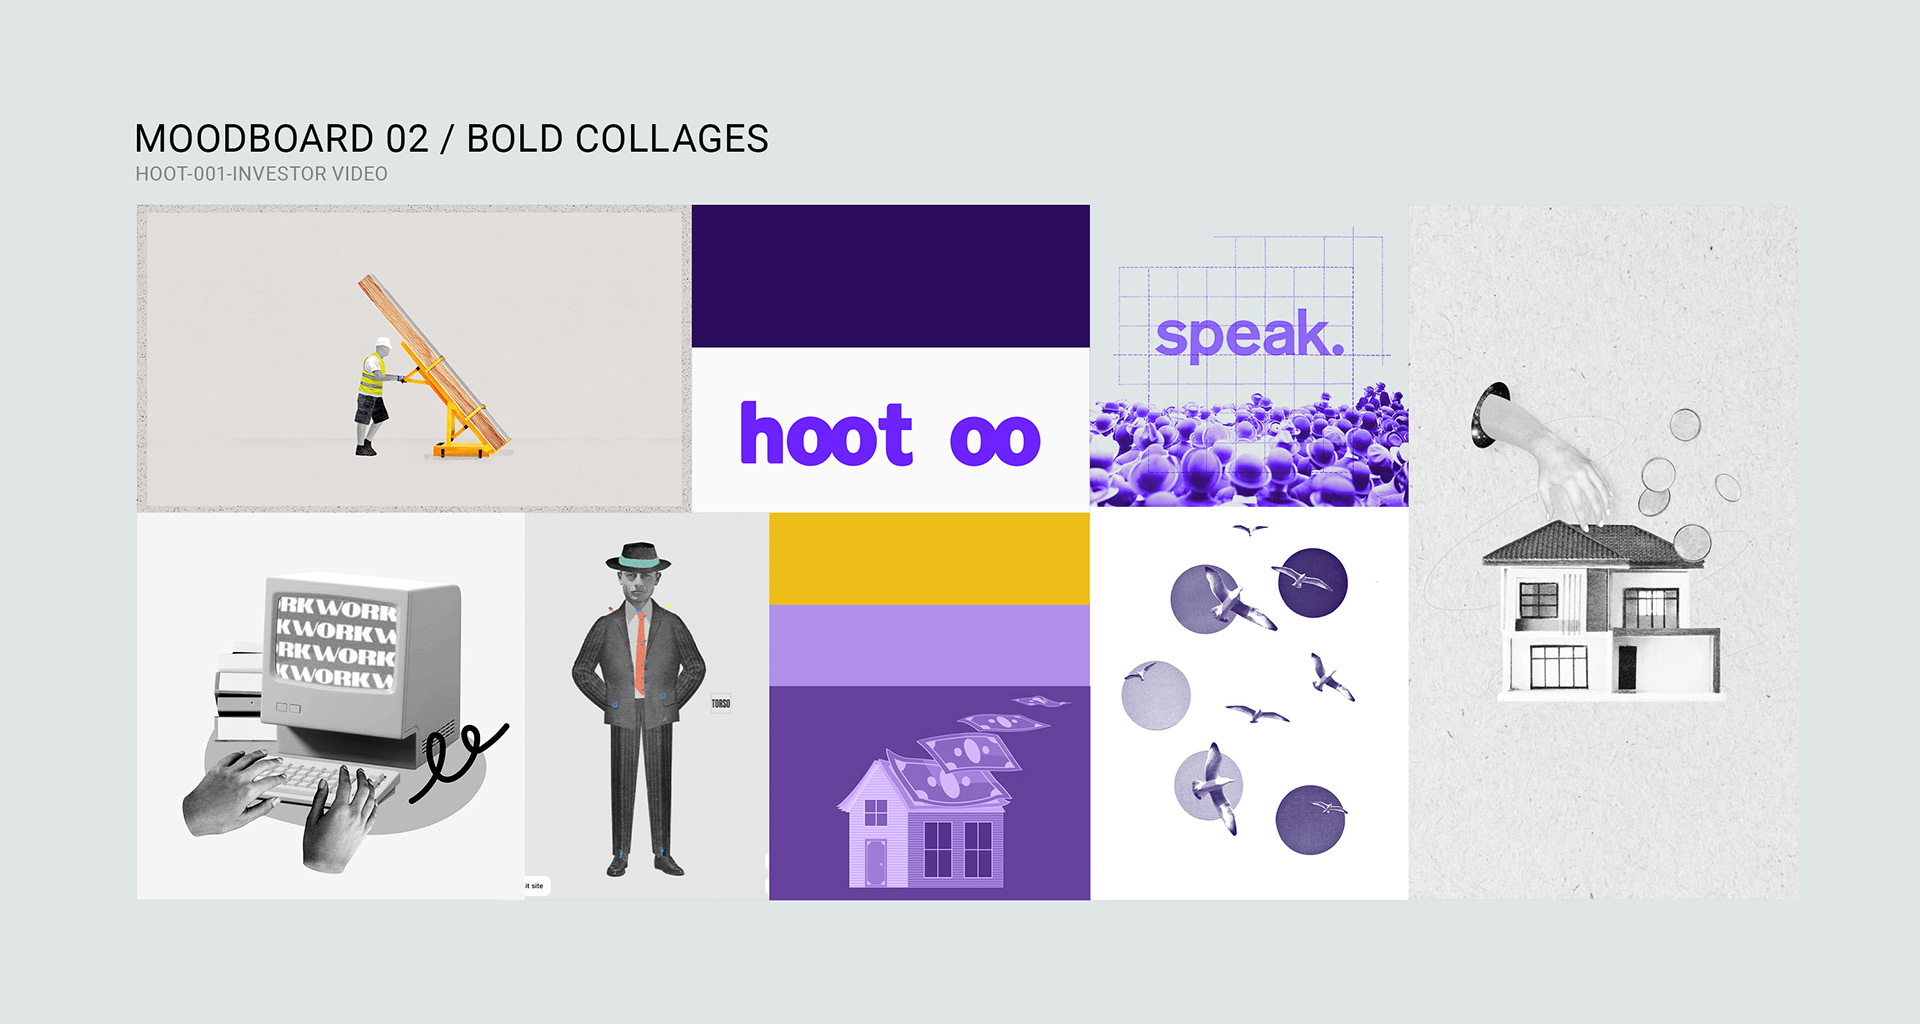
After we approved the visual scripts and chose a moodboard (01), we were off to sketching! This is the best time to come up with the main ideas for the visuals. I tried to keep the core of what the client had imagined but translate it into something manageable for the style chosen and the budget. Below is the animatic.
Design
After getting through approvals and revisions for the animatic, we moved onto design! My favorite part. This is where I create assets and make the storyboard. Depending on timeline, budget and client trust, I put more or less frames to prove a concept. In this case, I had very few transition frames designed out. But I think this proved to be for the best. I was able to get storyboards done in just a few days! And the client had very few revisions since we already had a very similar sketch.
Below you'll find the board-o-matic. Basically an updated animatic with production ready design frames. I find this much better of a way to send to a client. It helps them visualize the movement and pacing better. I send this along with all the JPGs out on a storyboard as well.
Animation
I did all animating in After Effects. I decided early on I was going to rebuild the house and any rotating assets in 3D with the textures I made in photoshop.
The most time consuming asset would be the house since every polygon would need multiple layers for geometry, texture and lighting. The main benefit of this is it allowed me to take advantage of the 3D camera and shadows in a dynamic way! Animating this in 2D could prove very difficult with any revisions. But now that it's all built in real 3D, I can just animate a separate camera and light to make any adjustments.
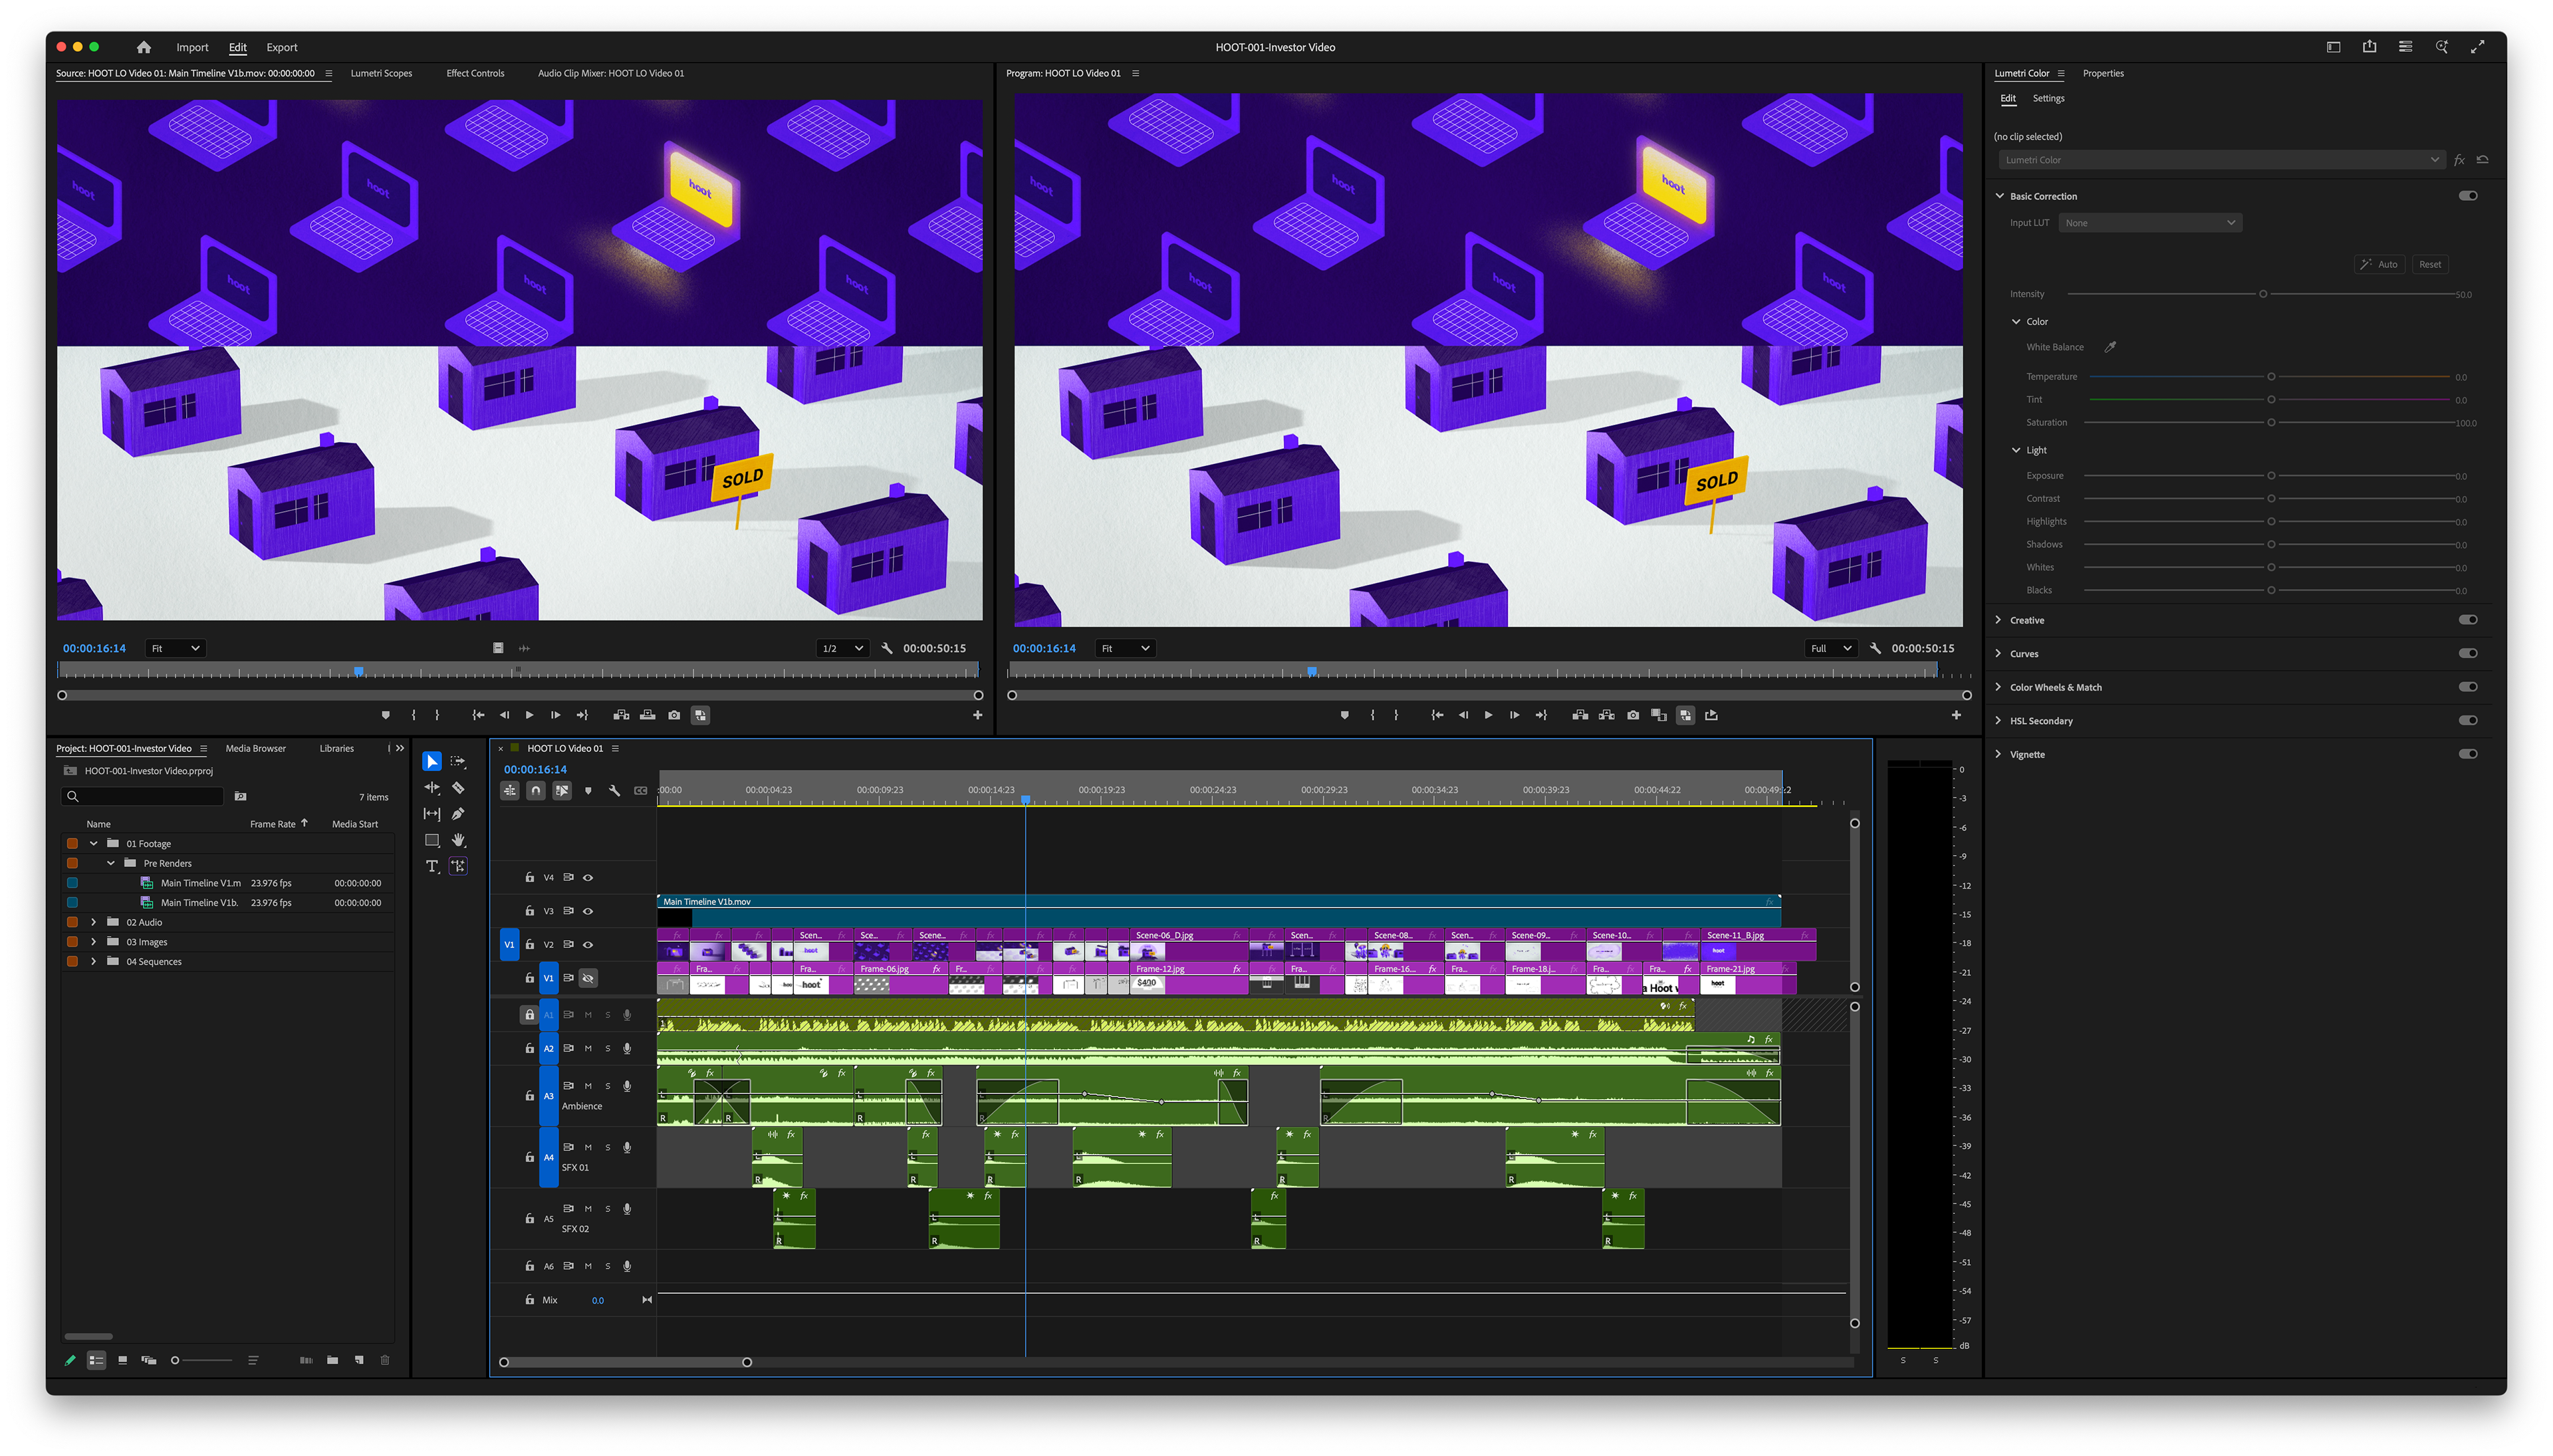
Editing & sound
Lastly, I pulled my renders into Premiere since it is MUCH easier to actually edit and do sound here. This is also where I cut together my boards and animatic.